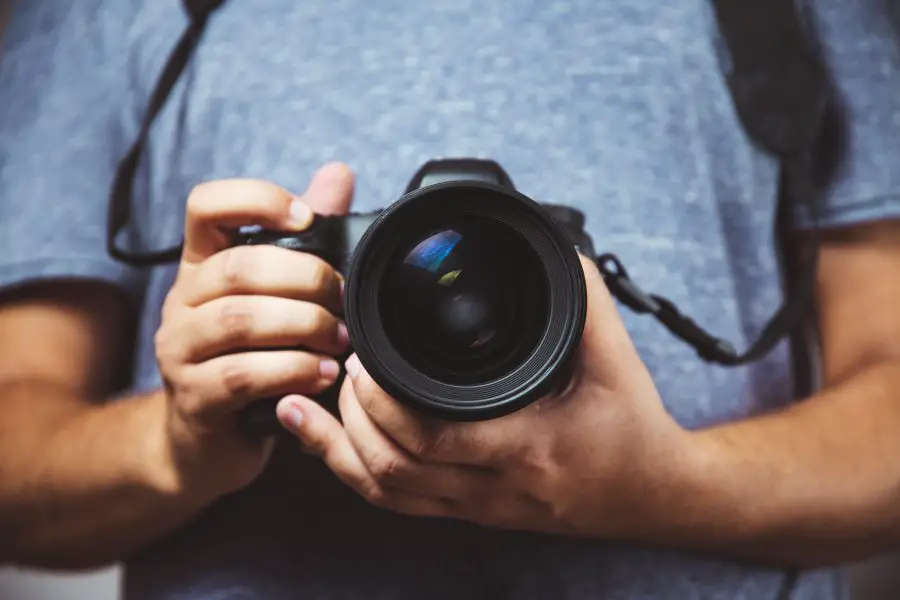
Macro Photography Tips
Photography Tip #247 — Get A Macro Lens
It’s important to get a dedicated macro lens to get magazine quality macro photos. There are many lenses from top camera companies that offer you great 1:1 magnification for your camera. Are they pricey? Yeah, sure. But they are definitely worth it (source).
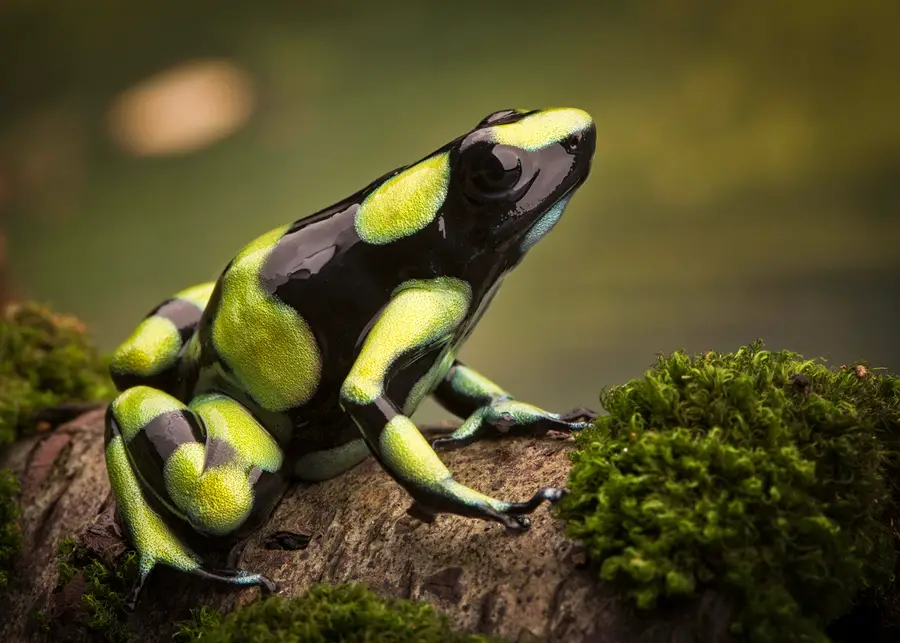
Photography Tip #248 — Choose The Right Subject
Not everything is great for macro photography. Some objects lose discernibility if shot close up without context. This means that viewers won’t even be able to appreciate the photo when taken. So, go for the right subject.
Good examples are butterflies, small insects, raindrops, jewelry, etc. For moveable subjects like bugs, it might be more difficult to do macro photography of them. But, a good technique might be to shoot from a safe distance so you don’t scare your subject off (source).
Photography Tip #249 — Living Subjects Should Be Captured Using Longer Focal Lengths
If your subject is living and motile, lenses with longer focal lengths are your best shot. This way, you can close in on them without having to actually move your feet. Shoot for something above 90mm (source).
Photography Tip #250 — Include Assistive Accessories
If you can’t get a macro lens just yet, you can get a diopter instead. It’s a kind of filter that functions like a magnifying glass which you place in front of your lens that macro-magnifies the object being photographed.
Another accessory are the bellows. These bellows (or tubes) that look like an accordion on your camera are the expandable part of your camera. By expanding this bellow, you are able to take super tight close up shots of your subject.
There are lens adapters as well which help you manually control aperture, as well as, reverse your lens.
Finally, avoid using a tripod which can get a little restrictive for you. Instead, work around with tools around you to create a third hand. This third hand is to help steady your object against the background for a clean shot (source).
Photography Tip #251 — Customize The Background
When it comes to inanimate objects, you have a lot of leeway and control. From the positioning of the object, to lighting and background, everything is within your control.
One thing that many photographers do is to place the object in front of an object that’s at quite a distance from the object. So, in the photos, the background has this beautiful blurriness to it.
Shooting outdoors is different, though. You lose that level of control you had indoors. A technique that might help may be to change perspective or use that third hand we talked about to position your object such that it faces you from a different angle (source).
Photography Tip #252 — Check Out Your Depth Of Field
One of the toughest things about macro photography is finding the balance between depth of field and image sharpness. But here’s a tip that could help.
Shoot at the largest aperture that allows you capture all the interesting parts of your subject in one plane of focus while maintaining a beautiful bokeh.
Or, you could, use a smaller aperture and then crop the resulting photo later to give it a more magnified appearance, if you don’t mind. Keep in mind, though, that smaller apertures mean that your camera doesn’t get enough light. So, oftentimes, you’d have to decrease shutter speed so your subject can be better exposed.
In this case, therefore, the photographer might have to use a tripod to avoid camera shake or use a flash so the scene is better lit.
Another technique to solve the problem of balance between image sharpness and depth of field is focus stacking. Many cameras already have this feature built in and if yours doesn’t, there’s always Photoshop (source).
Product Photography Tips
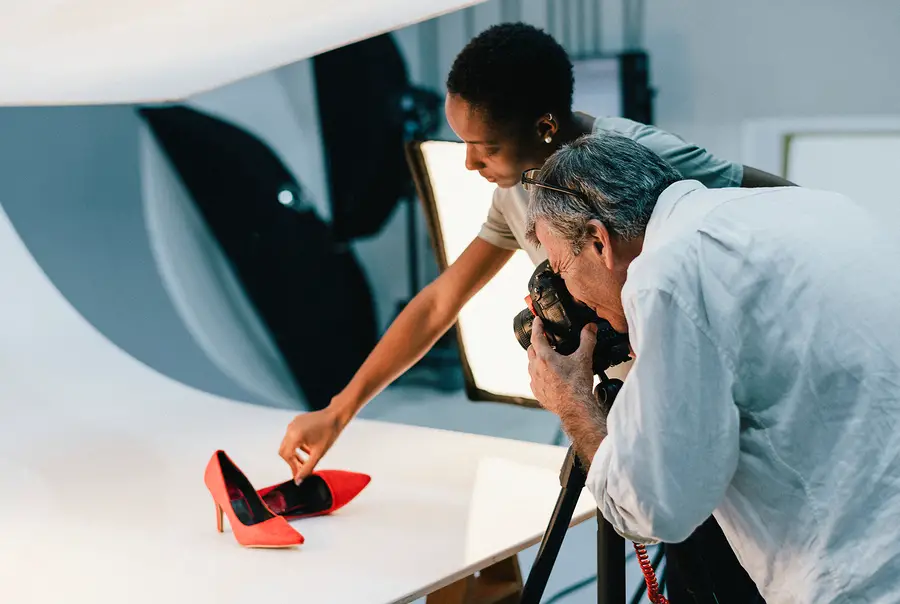
Photography Tip #253 — Use The Right Aperture
There are two common photography styles recommended for product photography which are the lifestyle and the solid wall studio.
If you’re doing the lifestyle style, use the widest aperture which corresponds with the lowest f-stop. This way, the product is front and center and everything else melts into the bokeh. Also, ensure that you’re at a good distance from the product so that you don’t lose details of the product itself to the bokeh.
If the photo is to have a model though, keep aperture at f/2.8 – just enough to capture the product and the secondary element but no more. You want the focus on the product.
If it’s a studio shot, or product with a model, then choose a narrower aperture. However, the aperture must be large enough to take in adequate light, as well as capture all the product details sharply (source).
Photography Tip #254 — Use Standard Lenses
This is not the kind of photography where you use effects lenses or wide-angle lenses. These things can distort your image, and in product photography, accurate representation is key. You don’t want issues with customers now, do you?
So, use standard lenses, the ones that are closest to the human eye in terms of perspective. A good example is any lens between 40mm and 50mm. ideal is 50mm, though (source).
Photography Tip #255 — Lighting Your Studio For Product Photography
One way to do this is to purchase a product photography lighting kit.
If you can’t do that, then follow these steps.
First, ensure there are two lights on each side of the product pointing towards the background and not the product. This way, you effectively separate the product from the wall.
Also, aim one of the lights in front of the product and have the other one above the product so that your product is properly lit and there are no shadows (source).
Photography Tip #256 — A Sheet Of Paper Eliminates The Horizon Line
All you have to do is to get a large sheet of white paper and bend it at the horizon line. After you do this, either tape it to the floor or to the wall. This will give a seamless look when requirements indicate product on white background (source).
Photography Tip #257 — Put Your Photo In Context
What sells the product is not the beauty of the image but the story behind it. Put your product in a context such that it tells a story the customers are willing to buy (source).
Photography Tip #258 — Colors Should Be Properly Toned
The colors must be as true as possible. You don’t want the colors looking too different in the photo than they are online. It could create problems for the business.
So, to avoid this, ensure that your lighting isn’t tinted. The best you can use is a white photography bulb. Or, if you’re shooting outdoors, an overcast day is best. Just remember to focus on your white balance.
When editing in post, ensure that you edit the colors in order to get a match that’s as true to real life as possible.
Also, when you’re done and you export the image, be sure to check it out on various devices. You want to check out how the color changes from one screen to another (source).
Photography Tip #259 — Color Theory Is Key
Colors affect humans in different ways and your understanding of that is also important when doing product photography. A study of color psychology could help (source).
Black And White Photography Tips
Photography Tip #260 — Shoot in RAW + JPEG
Images are best converted to monochrome by editing RAW files with their full color information. However, there’s something that shooting simultaneously in RAW and JPEG does for you. You’d be able to check out how your image would appear in black and white by setting your camera to its monochrome picture style.
Since imagining a scene in black and white can be rather difficult, these modes really help with scene assessment and composition. In fact, there are some cameras that could even allow you a decent monochrome image in-camera which you could experiment with (source).
Photography Tip #261 — Consider Shape, Texture, And Contrast
You have to look out for tonal contrast if you want your monochrome picture to stand out. To put things in perspective, in color photography, the human eye is immediately drawn to a red object placed on a green-colored background, for instance.
However, in black and white photography, these two colors would end up looking the same with the same level of brightness, making the image look a little boring and dull. Luckily, you can quickly adjust that in post so there’s some level of contrast. However, you might be better off starting out with scenes that have a tonal contrast in the first place.
So, you want to look for scenes with string blacks and strong whites. You can achieve this with your lighting or by using the right exposure settings.
For instance, in a woodland scene, a silver birch tree can bring in some contrast with its bright bark. If you set your exposure for such brighter areas, your shadows appear darker while highlights stand out even more.
Also, look out for patterns, shapes, and textures to create the best composition (source).
Photography Tip #262 — Long Exposure Shots Are Best
Especially if your shot involves clouds or moving water, shots involving long exposure are best. This is because, in moving water, for instance, the you record the water highlights across a wider area than when shooing with a short exposure. This is better for your tonal contrast.
Also, with longer exposure, the movement of the water is blurred which is great for your textural contrast with solid objects in the frame.
Now, if necessary, you can use an ND filter to extend shutter speed (by 4 stops) and reduce exposure (by 10 stops).
But, generally, keep in mind that any exposure beyond 160th of a second would call for a tripod to prevent camera shake and blurry images. You might also want to use a remote shutter release in order to reduce chances of blurring even further (source).
Photography Tip #263 — Work With Filters
ND grads (graduated neutral density) and polarizing filters are great for color photography, the same way they are great for black and white photography. In fact, thanks to their ability to manipulate the contrast of images, you could even say that these filters are even more useful in monochrome photography.
ND grads are great for retaining detail in bright skies. Polarizing filters, on the other hand, boost contrast while reducing reflections. Or you can take two shots with two different exposures. This could help you create an HDR (high dynamic range) composite.
If the foreground of your shot isn’t as bright as the sky and you’re doing a long exposure shot, you could use an ND grad filter together with a regular ND filter.
Other filters you can use also are colored filters. They are equally as helpful in black and white photography and they manipulate contrast in digital images perfectly (source).
Photography Tip #264 — Be Careful That Your Photo Doesn’t End Up Looking Unnatural In Post
Adobe Camera Raw offers a lot of great tools you can use to manipulate contrast in photos. This is usually when image contrasting is done even though colored filters can help you do that while shooting.
In using this software, image contrasting is as easy as sliding a control. However, keep your eyes on the entire photo so it doesn’t come out looking unnatural (source).
Photography Tip #265 — Try The Dodging And Burning Technique
Photoshop comes with tools for dodging and burning which allow you shadow your mid-tones, and target your highlights. So, you can use Burn to darken your highlights and use Dodge to brighten them, if too bright or too dark, respectively.
Dodging and burning really brings greater sharpness and an enhanced texture in your photos.
You can also set the opacity of the tools and build the effect of these tools gradually so that their impact is less subtle and hard edges are erased (source).
Fireworks Photography Tips
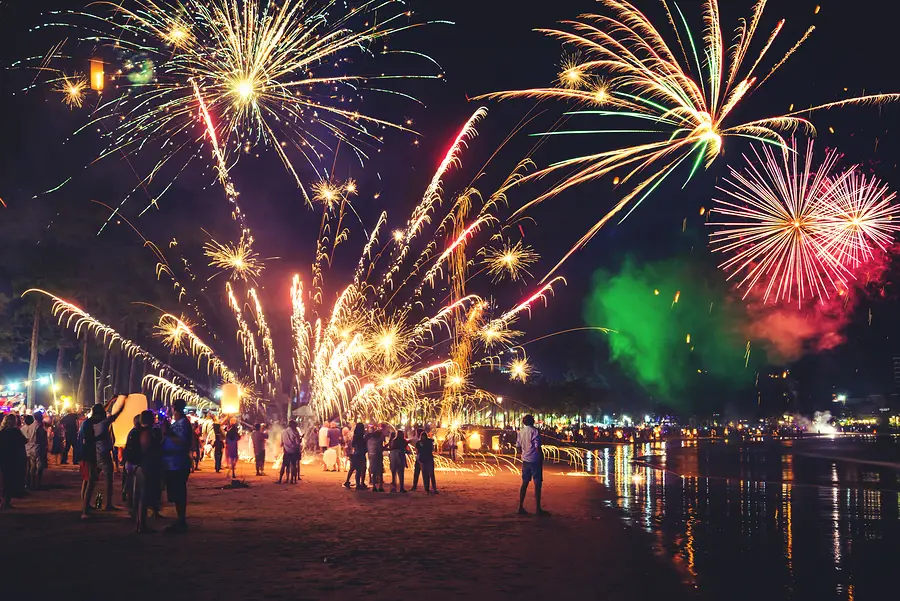
Photography Tip #266 — Set Camera To Manual Mode And Turn Off Flash
With this, you control the aperture and exposure yourself. Now, a great place to start is at ISO 100, aperture f/11, and a shutter speed of ½ second. If the photos loo dim, vary shutter speed but keep aperture the same (source).
Photography Tip #267 — Get To The Location On Time And Scout The Location
You want to observe the background and foreground and think about how you want to incorporate elements of both. Then manually set your focus before dark and focus on the part of the sky whre the fireworks will be displayed. This way, you’re ready to shoot when the time comes (source).
Photography Tip #268 — Use A Sturdy Tripod
You need your camera motionless for sharp images. Besides, you want to ensure that your horizon line remains straight, especially when including other elements like the cityscape in your composition (source).
Photography Tip #269 — Vary Your Shots
Depending on what you want to capture and your distance from the fireworks, there are different focal lengths to use. Tight shots with detail would usually require a focal length of 200mm. Just keep in mind that a change in focal length in zoom lenses demands a refocusing. So, ensure you check this before the show starts, while you still have light (source).
Photography Tip #270 — Shoot In Bulb Mode
With the changing conditions, bulb mode helps you take perfectly timed exposures. To avoid touching the camera and affecting image sharpness, you might want to use a remote shutter release. When the fireworks launch, hit, the remote and hold on to it until the burst fades which typically lasts some seconds (source).
Photography Tip #271 — Pick The Right Vantage Point
The best vantage point is upwind from the blowing smoke. It’s more comfortable and gives you the smoke a nice, reflective quality which could make your shot more interesting (source).
Panorama Photography Tips

Photography Tip #272 — Keep The Tripod Level
You want to make sure that the mounting plate on the top of your tripod is level. So, don’t just level the camera, level the tripod as well so that when you rotate the camera, the scene doesn’t come out tilted (source).
Photography Tip #273 — Rotate The Camera Around The Lens
Specifically, you want to rotate the camera around the mid-point of the lens, or more technically, the no-parallax point of the lens. This gives the best result.
If your camera is going to be on a tripod, then keep your camera on the rail slide. This way, if you rotate your camera, only the lens rotates and not the camera body.
Now, finding the no-parallax point might take a while of trial and error till you get it. You’d know you’ve gotten it when you don’t notice any relative movement between background and foreground objects while rotating.
Also, if hand-holding your camera then position the camera above the front foot and then rotate around the foot. It’s better than rotating at the waist which is more likely to create parallax errors (source).
Photography Tip #274 — Meter Highlights, Develop Shadows
Panoramas capture a wide area, naturally, so you must be careful about metering in order not to blow out the highlights.
A good way to meter for panorama is to locate the brightest area in the scene and meter that part so it doesn’t blow out. This could be the clouds, for instance. When you do that, you lock that meter value in your camera and then proceed shooting.
When you get back to your computer, merge panorama and then draw out shadow detail using the shadow slider or other relevant tools the software has to offer (source).
Photography Tip #275 — Overlap Correctly
If you want to successfully merge all your photos together to form one panorama, then you’d have to work with your software the overlap the images.
If you use a wide-angle lens like a 14mm or 16mm, then you might need to overlap up to 50% from one photo to the other. If the lens is a long one, on the other hand, there is a reduced chance of distortion and, you’d find it easier merging these images with your software (source).
Photography Tip #276 — Lock Your Camera Settings
If you want your images to stitch properly in post, then your settings must be on lock when in the field. Such settings include your ISO, aperture, shutter speed, focus distance, focal length, and white balance.
If these settings aren’t locked, your final image will look funny with exposure changes, poor white balance, as well as certain portions of the photo out of focus sitting right next to one that is in focus (source).
Photography Tip #277 — Pan From Left To Right
When editing, the software you’re going to use is going to expect that the picture at the far left is the first in the sequence. So, always pan from left to right.
Also, your field of view should be similar to how the human eyes see which is about 180 degrees (source).
Conclusion
And with that, we come to the end of this long, but fulfilling trip. We hope you picked up a thing or two from our 277 photography tips to make your photos even more awesome.